Sew It - Small Crayon Tote Bag
Contents:
Apply the fusible interfacing to the backside of all pieces according to package instructions before you begin bag construction wait to apply the fusible fleece to tote exterior. Create the crayon pouch on the front of the tote: Fold the crayon pouch piece in half, lengthwise, with right sides together.
Clip the corners, turn right side out and press. Position the crayon pouch in the center of one of the exterior tote bag pieces and 5. The long side where you left your opening should be pointed towards the bottom of the tote. Sew the crayon pouch to the front of the tote, by sewing down both short sides and the one long side where you left the opening.
Leave the top open. Start at the center of the pouch and work your way out there will be 7 lines total. If you have the Baby Lock Unity sewing machine, this is a great place to use your guide beam so that you can easily sew those straight lines onto the pouch.
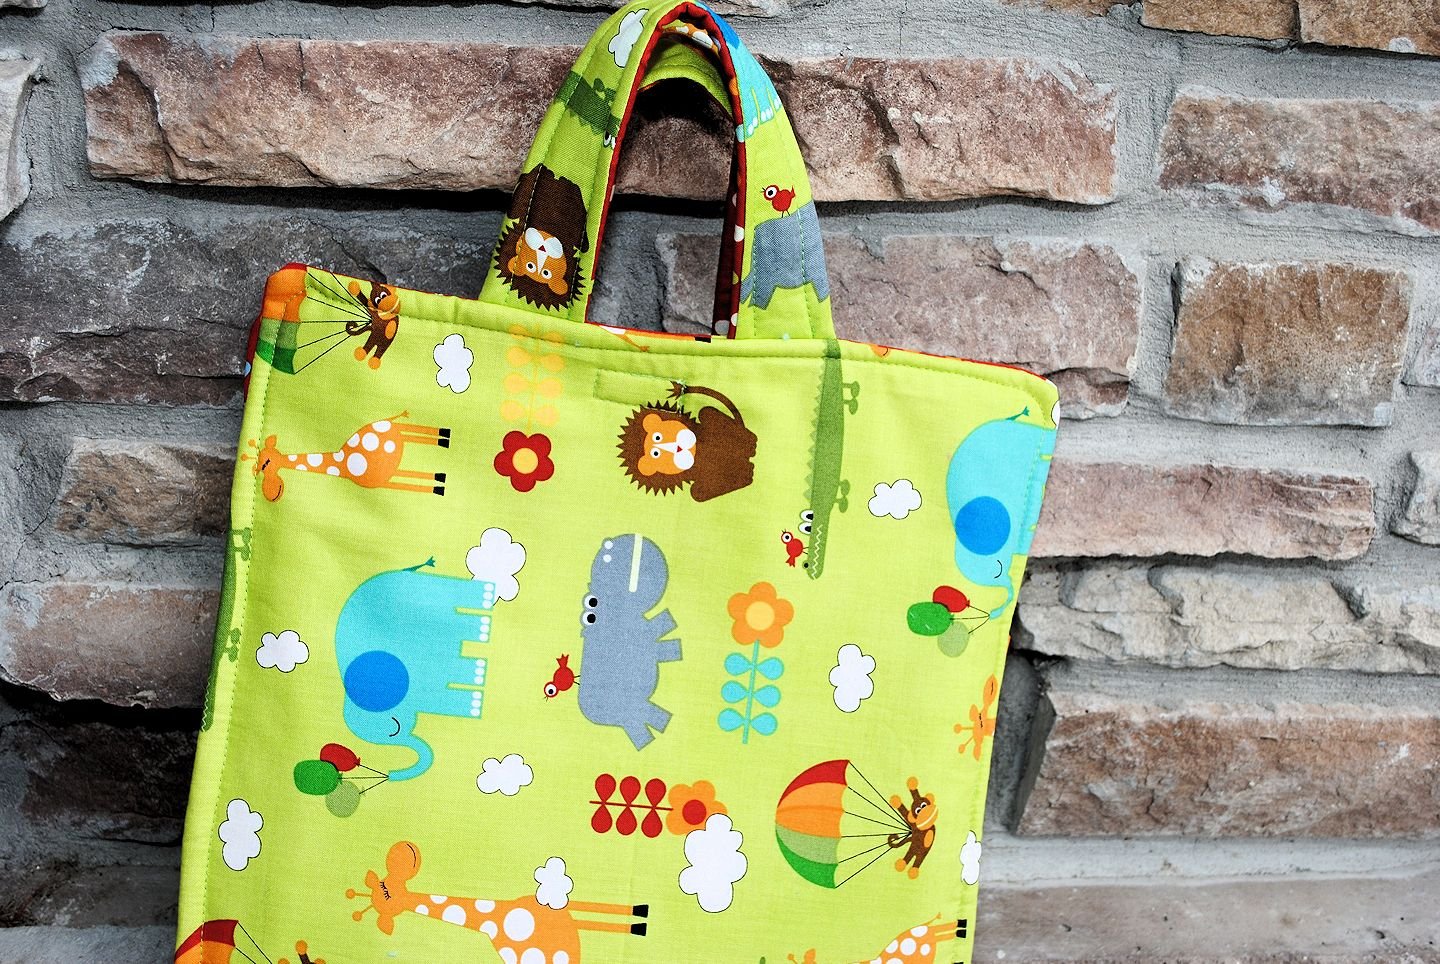
How to Sew a Crayon Tote Bag
If not, mark them with a fabric marking pen. Apply the fusible fleece to the backside of the front and back pieces of the exterior of the tote.
Sew It - Small Crayon Tote Bag - Kindle edition by Jennifer Heagy. Download it once and read it on your Kindle device, PC, phones or tablets. Use features like. I have a super fun new sewing tutorial for you, A Crayon Tote bag! This is a very This past weekend I had 2 little girls birthday parties to go to.
Then place the front and back of the tote on top of one another, right sides together and sew down one side, as seen in image 4. Apply trim to the exterior tote pieces. The trim will be placed 1.
You can use any trim you like. The trim seen here is called Ruffle Rick Rack. Place your trim on top of the Wonder Tape and sew it to the exterior of the tote. You can skip the trim step, if you would prefer and you can also just pin your trim to the bag. Make the tote straps: Fold the strap pieces in half, lengthwise, with right sides together. Sew down the long edge, leaving the short ends open. Turn right side out and press. You can use a quick tube turner to make easy work of turning your straps.
Do this for both straps. Then press your seam down the center-back of the straps. Add some topstitching on the top of your strap. You can do one, two or even three rows of stitching to add a little decorative element to your straps. Now fold back up the exterior tote pieces, right sides together, and sew the bottom edge and other side edge together make sure to line up the edge of your trim. Clip your corners, turn right side out and press. Baste stitch your straps to the front and back of the exterior of the tote. Sew the tote lining: Place the two tote lining pieces on top of one another, right sides together.
Place the tote lining around the exterior of the tote so that the right sides are together. You are basically putting the exterior tote inside the tote lining. Line up the top raw edge of the exterior tote and the tote lining. Sew all the way around the top.
You will catch your straps in this row of stitching since they are sandwiched between the two layers. To turn your tote right side out, pull the exterior tote through the bottom opening left in the tote lining. Run a row of topstitching along the top of the tote bag. Fill your Art Tote will crayons and other art supplies and you now have a wonderful gift for any little girl or boy in your life! Sign up below and receive all my tutorials, recipes and updates directly in your email inbox. Thank-you for the free pattern, what a nice ministry gift for a church group to make for some school or day care children.
I am pinning for future stitching for gifts.
PatternPile.com – sew, quilt, knit and crochet fun gifts all-year-round!
I love getting this before Christmas. I saw your link Little Becky Homecky. And such a great tutorial with gorgeous pics to go along with it. Thanks for sharing at Hookin On Hump Day! Very cute — and useful! Like the idea of being able to corral the crayons in the pocket instead of a box that dumps out at the most inoppurtune time! Thanks so much for sharing on Busy Monday! I think this is pretty cool! Your instructions seem very well organized and simple. And now I believe I have found inspiration for Christmas gifts for my god children!!
Only need to find the time. I used leftover pieces of fabric I had from other projects to try it out.
- How to Sew a Crayon Tote Bag.
- Crayon Art Tote Pattern and Tutorial.
- Comme un cadavre... (French Edition)?
- ?
- Bliain An Bhandé - Year of the Goddess: Poems in Irish with English translations (Irish Edition);
- Who Is Organic? A Dream or A Reality?.
- Step #4 - How to Negotiate Price and Handle Inquires and Test Drives Safely (How To Sell Your Used Car Online -- A Step-by-Step Guide)?
I love this carrier. Thanks for the great tutorial. I wish I sewed better so that I could make this! This is my favorite thing on your blog so far! I just made this but there are a few steps and info missing. Thankfully I realized that and did so before I stitched it altogether.
I used fusible fleece which was helpful. I know, not the best practice. Yours turned out cute. Thanks so much for sharing this awesome project. Thanks for a great tute! Really pleased how mine turned out! So many cute ideas and very adorable!! Keep up the good work!! Question about the felt. I have come across a lot of different kinds of felt. I am familiar with felt but not enough to know what kind of felt is safe for projects like this or for quilting. Can you give me any tips of what to stay away from and which types that are better quality?
You know, since I wrote this I have changed my mind. I would recommend using fusible fleece instead of felt. Was I supposed to sew the main body piece or the pocket piece? It should have said CUT not sewed. I just changed it. Thanks for the heads up. I meant fold the piece that will be your pocket for crayons in half with right sides together and sew it together. A border all the way around? Just the sides and top? With what seam allowance,? I sewed it how I thought and it came out too short, so now I have to take the stitches out and redo it.
Hi Amber, Love this tutorial on the color crayon totes. But I am having difficulty printing the instructions. It keeps say cannot print due to internal issue with the tutorial. Can you please tell me where else I might find it to print. Would greatly appreciated the help. Or do they need to be wiped clean. Thanks so much for the great tutorial! I used this to make my nieces some for Christmas last year and they liked them a lot: Thanks for the great idea and tutorial.
I used quilted fabric for the main piece for the carrier and machine embroidered a crayon design on the front. Then used crayon print cotton fabric for the inside pocket that holds crayons. It was fun to make and give as a gift. Thank you for this great project! Could I use extra firm fusible interfacing in place of the felt?
Do you have the outside dimensions of the portfolio when it is closed? Will it hold a full size coloring book? Amber, I just made this for my Grandson for his 6th birthday. Thanks so much for this wonderful tutorial, it turned out so cute and he enjoyed it the best out of all the gifts. Will be great for going traveling and just being at home! Your tutorial was easy to follow and I will be making 2 more of them for another Grandson and Granddaughter! Thank you so much for this idea.